miércoles, 23 de octubre de 2013

Muchas gracias a todos mis compañeros de trabajo.

No hablo de nada relacionado con mi trabajo en el blog porque no creo que sea ni el sitio ni el lugar para ello.  Hoy sin embargo si quiero hablar de mis compañeros de trabajo.  Hoy ha sido mi último día de trabajo junto a ellos tras 17 años en el mismo puesto.  No me podía ni imaginar las muestras de cariño que he recibido durante todo el día de ayer y hoy.  Los voy  a echar muchísimo de menos a todos.  Gracias a ellos ha sido muy fácil trabajar en el departamento durante todos estos años. 


Antes de terminar la jornada de hoy se han reunido todos para darme la más bonita de las despedidas. No me lo podía ni imaginar y desde luego no lo olvidaré nunca.
 
Además ha habido regalos... muchos regalos...


Muchas gracias a todos.  Os echaré mucho de menos.


I don't like writing about my job in the blog.  I don't think is the place for it.  But today I want to talk to you about my co-workers.  Today was my last day working at my current job or position. 17 years working in the same department with the same people and the only thing I can think of is that it has been so easy to work with them !!  They have been really supportive yesterday and today, asking how I was, saying they would miss me and by the end of the day they have all gathered to say goodbye and to give me some presents.  I couldn't believe it, I was so surprise !! and it has been really beautiful.  I will miss all of them a lot and from my blog I want to thank them for being there all these 17 years.     


martes, 15 de octubre de 2013

Patrón chal gris de hilo.

Hoy le toca el turno al patrón de chal gris.  Es otro chal que me encanta. Más adelante creo que me haré uno para mi.


El patrón lo encontré a través de Ravelry en la página de Lions Brand y se llama Bridal Shawl.  En esta web podeis encontrar muchos patrones.  Sin embargo tengo que advertir que la mayoría de los patrones son instrucciones escritas en inglés.  Desde que empecé con esto del crochet prefiero los patrones tipo gráficos en lugar de las instrucciones escritas.  Para mi es más sencillo de entender que es lo que tengo que hacer.   En esta ocasión no encontré gráfico por ningún sitio así que me tuve que armar de paciencia, leer las instrucciones en inglés y hacerme un gráfico que yo pudiese seguir.

Antes de que vaya a perder la hoja con el dibujo del patrón he decidido subir al blog unos cuantos dibujos y fotos de los distintos pasos que lleva el patrón y así sabré donde puedo encontrarlo siempre.  De igual manera si alguien lo quiere aquí lo tiene.


Los tres primeros pasos son los que veis.  Lo primero es hacer un círculo.  Yo siempre hago 4 cadenetas y uno formando el círculo. 


Quedaría como en el dibujo de abajo.


A partir de aquí seguimos como en el dibujo de abajo.


El gráfico final es el del dibujo de abajo.  Las repeticiones van de la fila 4 a la 7 (la fila 8 sería igual que la 4).


Quedaría tal que así:


Haciendo un pequeño resumen los puntos quedan tal que así:

Las esquinas (corners):


Los puntos centrales (center) :


Y el resto (the rest):


No publico por lo general patrones porque creo que hay sitios en internet donde buscarlos más claros.  Como dije al principio este es sobretodo para mi para tener siempre localizado este patrón que es uno de mis favoritos.  Y lo dicho aquí lo dejo por si alguién más lo quiere.

I don't usually post patterns because they can all be found in internet and they are really easy to follow.    But this time I have some trouble understanding this pattern because I only found it written and I usually work better with a picture.  I almost forgot to mention that I found this pattern through Ravlery in Lyon Yarns website.  I wanted to post it because I made a drawing of it and I know myself and there's a big chance that I will lose it.  So I decided to post it and I will always know where to find it.  It is one of my favorite patterns and the shawl I made was for a present, I would like to make another shawl but this time for myself.  

Hope the pictures and drawings are clear enough to follow.  In any case as I said before you can find the written pattern in Lion Brand and it is called Bridal Shawl.   

jueves, 10 de octubre de 2013

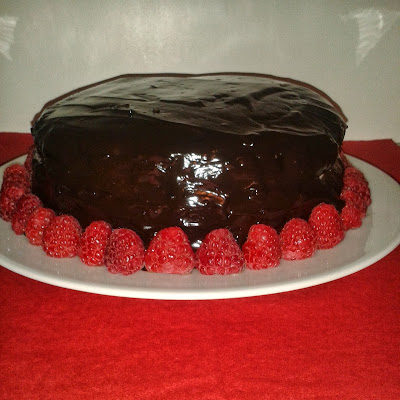
Mi tarta de cumpleaños

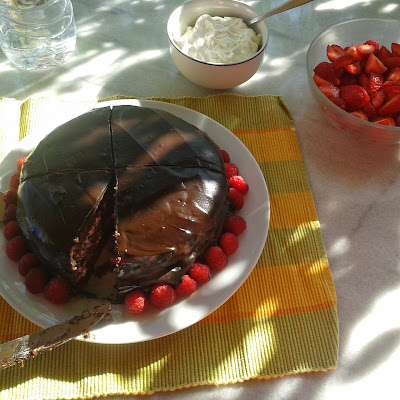
Hace unos días fue mi cumpleaños.   Como no podía ser de otra manera la tarta la hice yo.
Normalmente la receta que sigo para hacer el bizcocho poner el mismo peso de los huevos tanto para el azúcar como para la harina y añadir un poquito de levadura o bicarbonato y listo.   Es decir si pongo 3 huevos (150 gr) pongo 150 gr de azúcar y 150 gr de harina. 
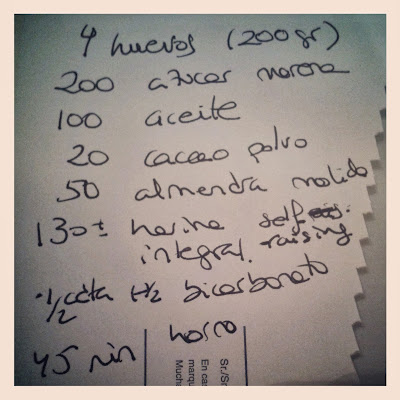
Partiendo de esta receta base he hecho el bizcocho pero con algunos cambios.  Para empezar puse 4 huevos (200 gr).  Añadí 200 de azúcar morena (o de caña).  Eché además 100 gr de aceite ( se puede poner mantequilla en su lugar).  Por último eché 20 gr de cacao en polvo sin azúcar,  50 gr de almendras molida, 130 gr de harina integral con levadura incorporada (cacao+almendra molida+harina = 200 gr). Me gusta poner media cucharadita de bicarbonato en estos bizcochos.  En el horno estuvo 45 minutos a180ºC,que fue cuando el pincho salió limpio.
El bizcocho lo hice el día anterior para que el día del cumpleaños se pudiese cortar bien.
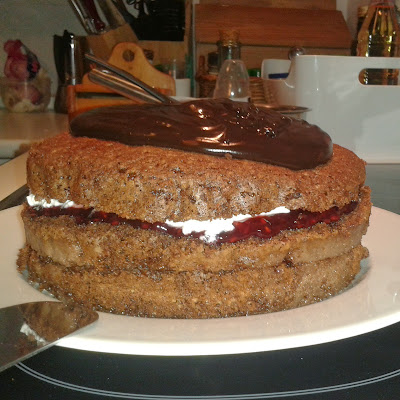
Antes de rellenar la tarta y un vez que corté el bizcocho en tres partes es mojar un poquito cada parte.  Yo puse sólo leche porque estaban mis sobrinos que son pequeños, pero un poquito de brandy o anis o algo de alcohol no le va nada mal ;-).  Esto hace que el bizcocho esté de lo más jugoso.
Con el relleno no me he complicado nada: mermelada de frambuesa y nata montada con una cucharadita de azúcar.
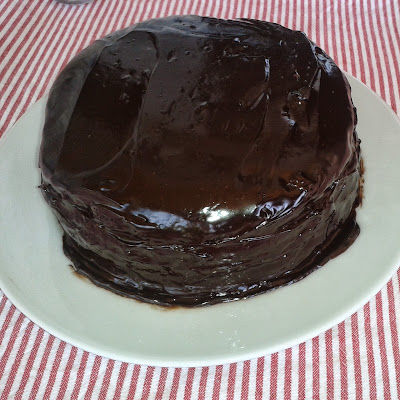
La cobertura tampoco ha sido difícil: chocolate negro (70%) y un poquito de nata (la misma que la montada).
Lo más estresante para mi es montar la tarta y echar la cobertura sin manchar mucho.  Aquí es donde está el peligro.
Esa mañana fui al mercado y tuve mucha suerte porque encontré frambuesas y fresas y además no muy caras. Utilicé las frambuesas para decorar. 
Las fresas las puse en un cuenco y las fui sirviendo con un trozo de tarta y con nata montada que había sobrado del relleno.
La tarta ha sido un éxito. Estaba buenísima.   Hasta yo misma estaba muy sorprendida del resultado.  Por último decir que la tarta la hemos tomado 12 personas, algunos han repetido y ha sobrado un cuarto.


En la foto de abajo hay uno de mis regalos.  Me lo regaló mi prima.  Por cierto un regalo muy útil, un stand para tartas y pasteles de cristal y que no tenía.  Hace tiempo que tenía ganas de tener uno.


Recently it was my birthday.  I made my birthday cake and it has been the best cake I have ever made.  I was really amazed by how well it turned out. 

I usually followed the same recipe for this type of cake:  the same weight of eggs and sugar and flour, that is if I put 3 eggs and they weighted 150 gr, I put 150 gr sugar and 150 gr flour and of course a bit of baking powder or baking soda.

This time I wanted to try a few more things but taking this recipe as a start.  So first of all I put 4 eggs (200 gr), then I added brown cane sugar 200 gr and 100 gr of olive oil so it wouldn't be too dry (you can put butter instead).  I mixed all this really good.  After that I added the dry ingredients:  20 gr cacao powder, 50 gr almond flour and 130 gr English self-raising wholemeal flour that I recently found (total dry ingredients 200 gr). Last thing I added was half teaspoon of baking soda (bicarbonate) that I always like in this type of cake.  Preheated oven at 180º C for 45 minutes. 

I have my doubts and as you can see I noted the recipe in a piece of paper, an envelope and let there until we tried it.

And now the hard part for me that is decorating the cake by cutting, filling and covering it.  It is really stressful for me because so many things can go wrong at the last minute...

The next day (I made the cake the day) I cut the cake in three pieces and filled it with raspberry jam and whipped cream.  I almost forget to tell you that a part from filling the cake I also put some milk in every part of the cake so it wouldn't be dry.  This is really important and I think it was the key.  It would have been even better with some liqueor or brandy but my nephew and niece are still very young and it doesn't seem appropiate.

I covered the cake with chocolate (70) that I have melted with a bit of cream (the same one I used to whipped).

I was really afortunate because that morning I found fresh strawberries and raspberries.  I used the raspberries to decorate the cake and I served the cake with strawberries and some whipped cream that was left from filling the cake.

The cake was a total success.  People loved it and they couldn't believe it was not bought cake.  It was really delicious. 


sábado, 5 de octubre de 2013

De paseo con los peques

Hoy hemos estado de paseo con mis sobrinos que están de visita. Nos ha hecho un día buenísimo y lo hemos pasado muy bien.
 
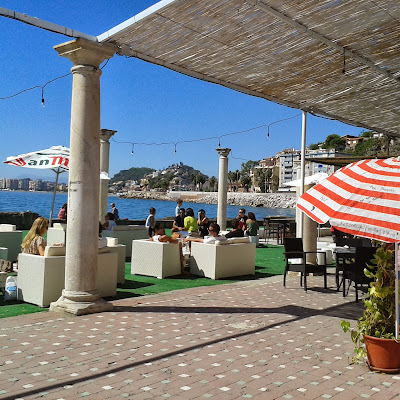
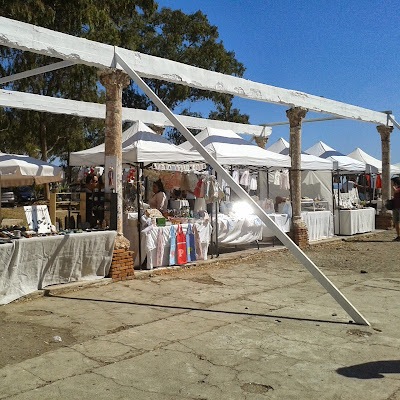
A la vuelta hemos parado en los Baños del Carmen.  Hoy había mercadillo y estaba muy animado.


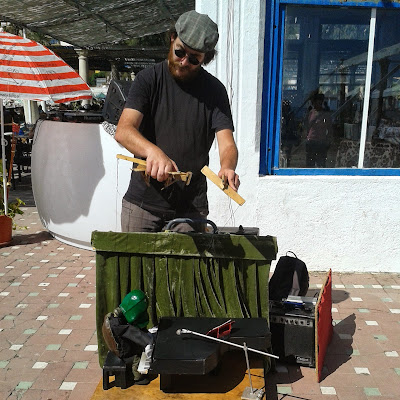
Lo que más gustó a los niños fué la tortuga que tocaba el piano.
 
 
Para los que no son de Málaga tengo que decir que Los Baños del Carmen están al lado del mar y las vistas son muy bonitas.


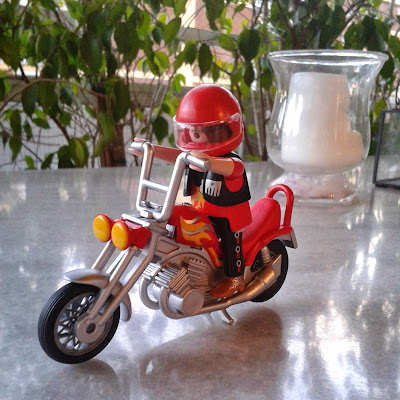
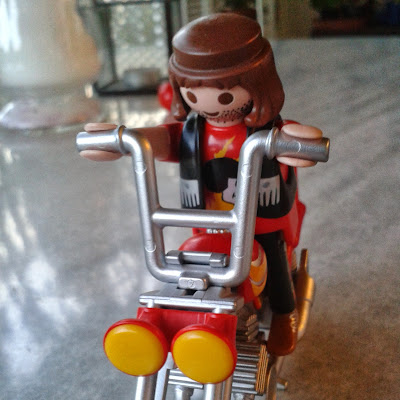
La última foto es el nuevo playmobil de mi sobrino: un motero. Es monísimo y no le falta un detalle.


Today we went for a walk with my nephew and niece who are visiting us. The day was beautiful and we have a nice time. We stopped at "Los Baños del Carmen" because there was a market. The best for the children was the puppet playing the piano.  This place is just by the sea.  The last picture is my nephew's new playmobil. I find it really cute.
 

En la playa

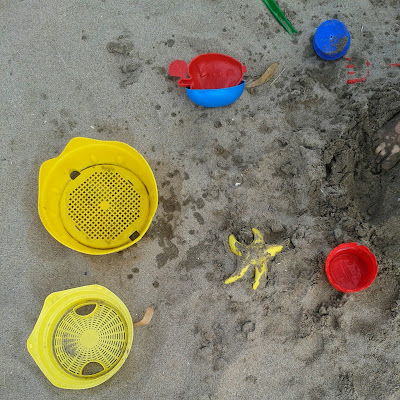
Ha venido mi hermano con su familia y el domingo pasado fuimos todos a comer a la playa.
El día no fué muy bueno para bañarse pero hemos aprovechado para dar un paseo por la playa y para jugar con los peques.


This photos are from last Sunday.  My brother and his family are here visiting us and last Sunday we went to the beach to have lunch.  Although it is still quite warm the day was not good to go for a swimm. Anyway we had a very nice day and my nephew and niece enjoyed playing with the sand. 

martes, 1 de octubre de 2013

Tarta de Queso: jugando con la receta

Tengo una receta de tarta de queso que es la que hago normalmente, que además de muy fácil está buenísima.  Creo que ya comenté que me la dió uno de mis primos.   Esta receta es con Philadelphia o con queso crema pero hace tiempo que quiero probar si se puede hacer con otro tipo de queso.
 
La semana pasada encontré quark y lo compré.   Este fin de semana he hecho tarta de queso con este queso y además he decidido probar alguna cosilla más.  Al final los ingredientes han sido: una tarrina de quark de 250 gr, 2 yogures naturales sin azúcar,  120 gr de fructosa (tenía in paquete abierto), 2 huevos, 50 gr de harina y un poquito de canela.  Bati todo bien y al horno precalentado a 180 durante 45 minutos.  No estaba muy pendiente y salió un poco mas dorada de la cuenta
 
Tengo también que comentar que la fructosa que utlizo no es muy dulce y que la puse porque la tenía a mano.
La tarta ha salido buena pero seguiré haciendo experimentos.   Ya tengo pensado un par de cambios que quiero probar.


I have a really good cheesecake recipe that one of my cousins gave to me a few years ago and that is very easy and is always delicious.  This recipe is done with Philadelphia cheese.  For some time now I have been wanted to try if it was possible to make this recipe with another cheese.  Last week I found quark and decided to try to make cheesecake with it.  In the end I decided to try a few other things as well.
The ingredients of this cheesecake are:  250 gr quark, 2 yogur without sugar (I think 125 gr each), 120 gr fructose (because it was there and this fructose is not too sweet),  2 eggs, 50 gr flour and some cinnamon.  Oven at 180º C for 45 minutes or even a bit less because I wasn't paying attention and it came out a bit  more "brown" that I wanted.

I have to say that because I am a bit lazy I never make a base with biscuits and butter, it is too much effort and I don't think this cake needs it.

The result is quite good and we like it.  Anyway I already thought of some things I want to try next time  that can improve this cheesecake.